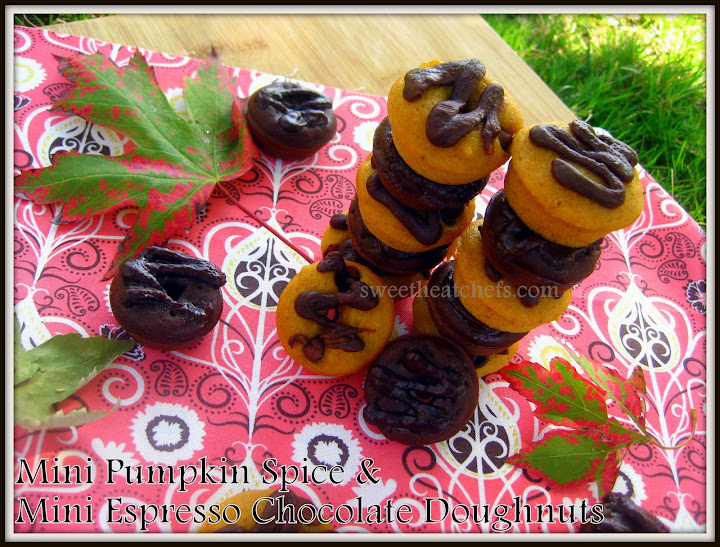
DOUGHNUTS…anyone else feel like Homer Simpson when thinking of doughnuts? I do! And for that reason I stay my distance from the beasts that like to make my thighs bigger! My mom recently gave me a mini doughnut pan and I was like, REALLY mom? Are ya kidding me? This is the LAST thing I need.
After several hours of research online and seeing that there were some good recipes out there for them, I decided to give it a go. I mean they can’t be to bad, 1) they are baked, 2) they are tiny! Well, and after all it is: “All Things Pumpkin” here at Sweet Heat Chefs this week, so why not go for the gusto and make them Pumpkin doughnuts right?! Ok, let’s not be silly, we all know I can’t make much without chocolate being in it (yes that is the sweet tooth jabbering away at my inner self). So with regard to that I have included a BONUS recipe for that very inner self!
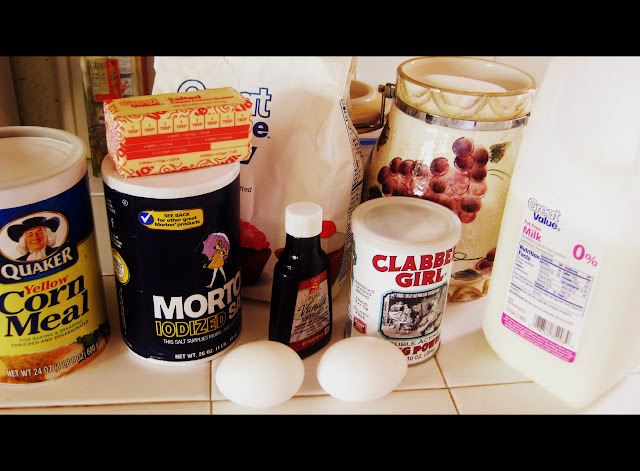
INGREDIENTS
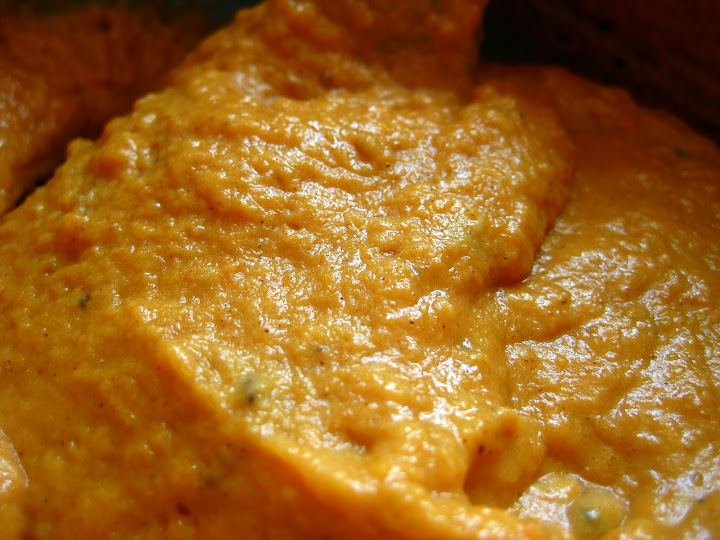
1.5 cups canned pumpkin pie mix
1.5 cups granulated sugar, room temperature
3 large eggs, room temperature and scrambled
1/4 cup coconut oil, room temperature (make sure it is in liquid form)
1/4 cup applesauce, room temperature OR sour cream OR non fat greek yogurt
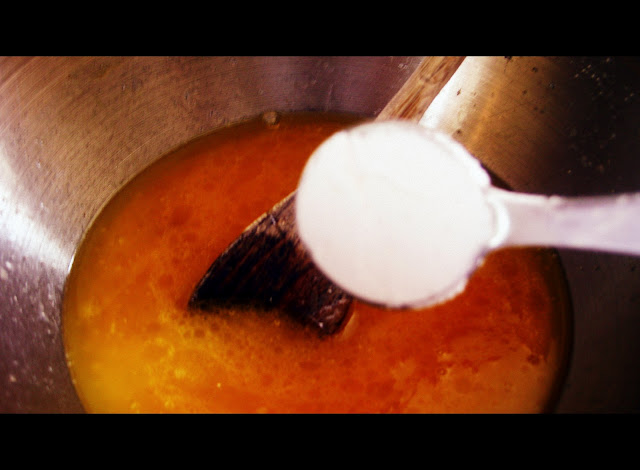
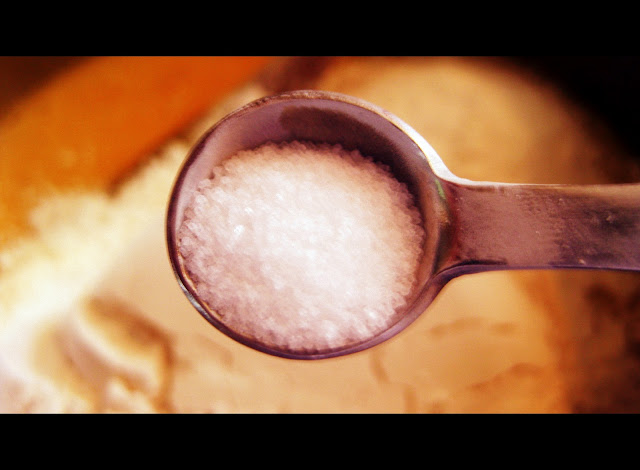
1 teaspoon salt
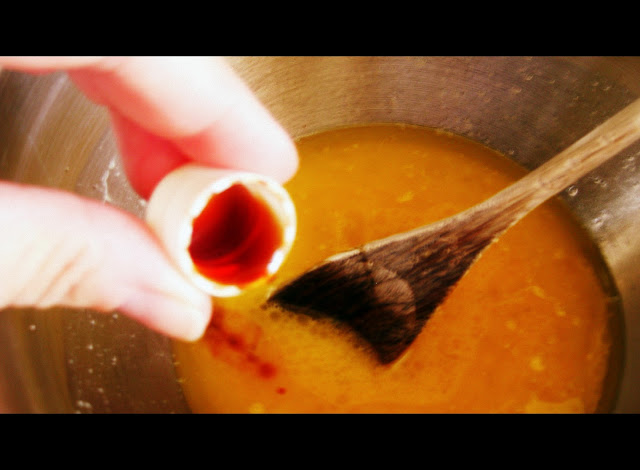
1/2 teaspoon vanilla
1.5 teaspoon baking powder
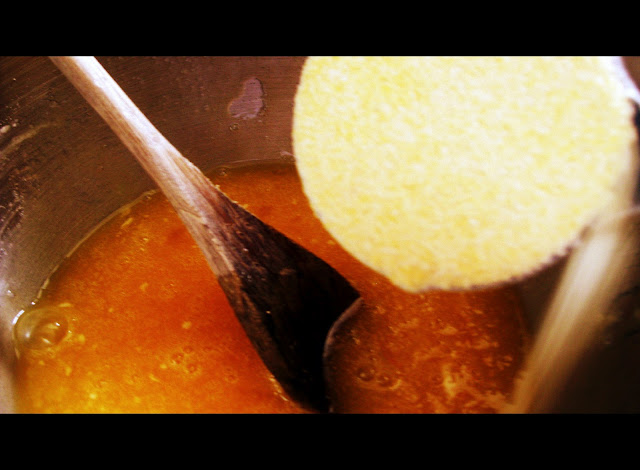
1 3/4 cups flour + 2 tablespoons
Topping
1 cup sugar
2 tablespoons cinnamon
Preheat oven to 350 degrees.
DIRECTIONS
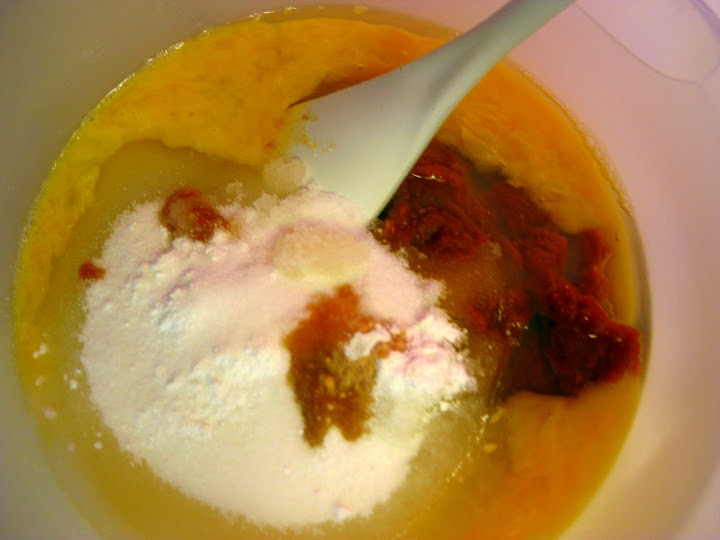
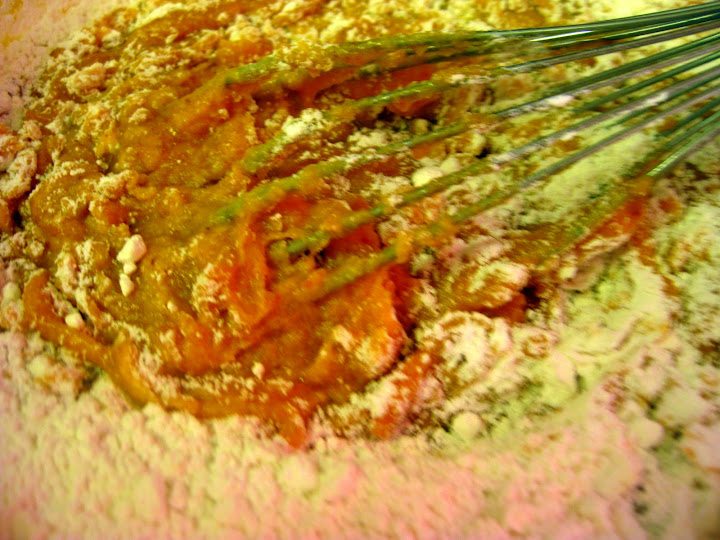
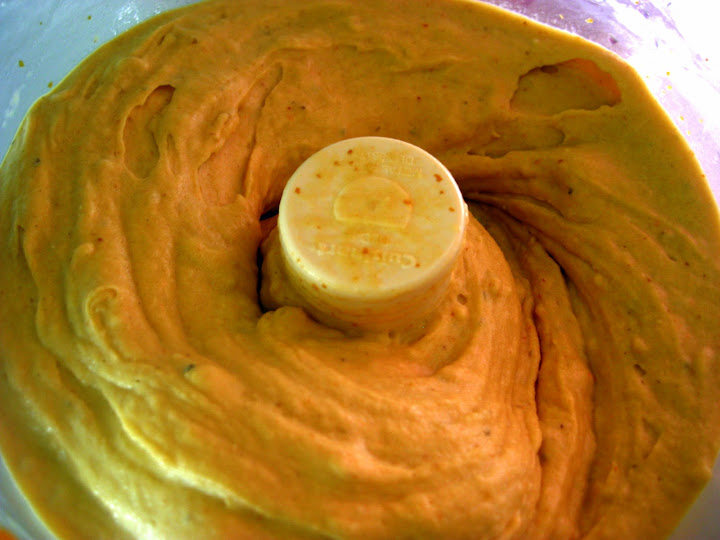
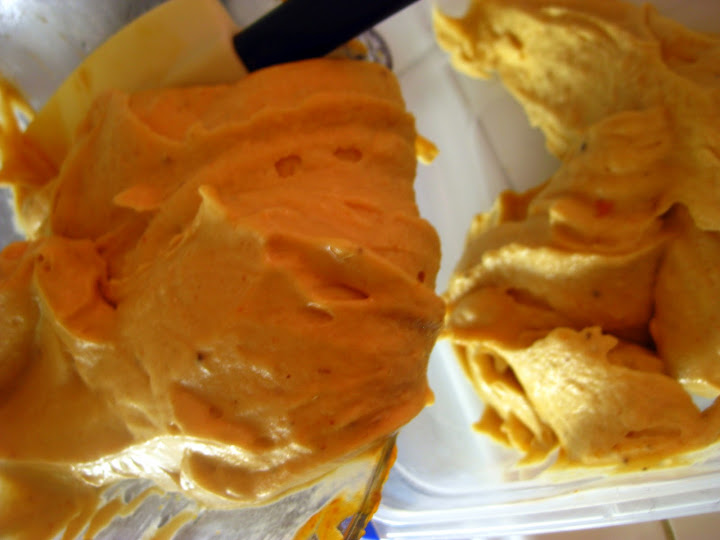
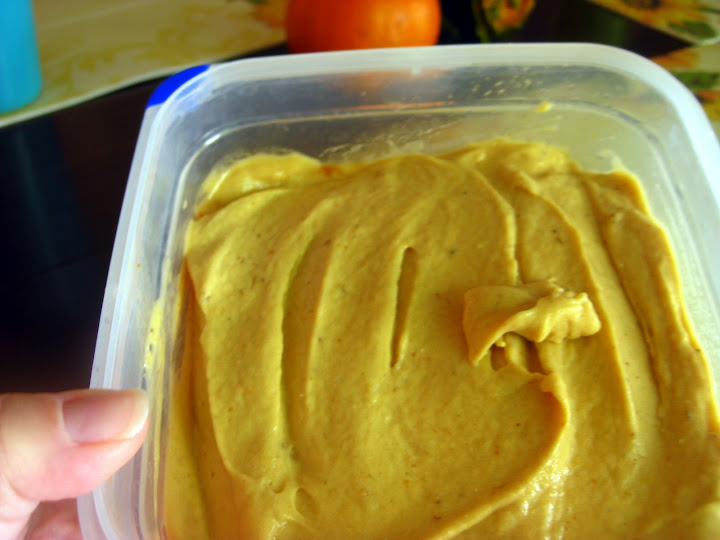
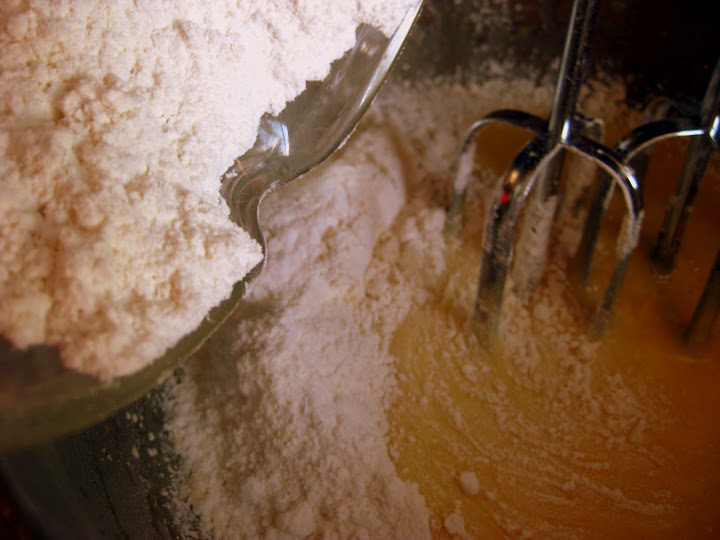
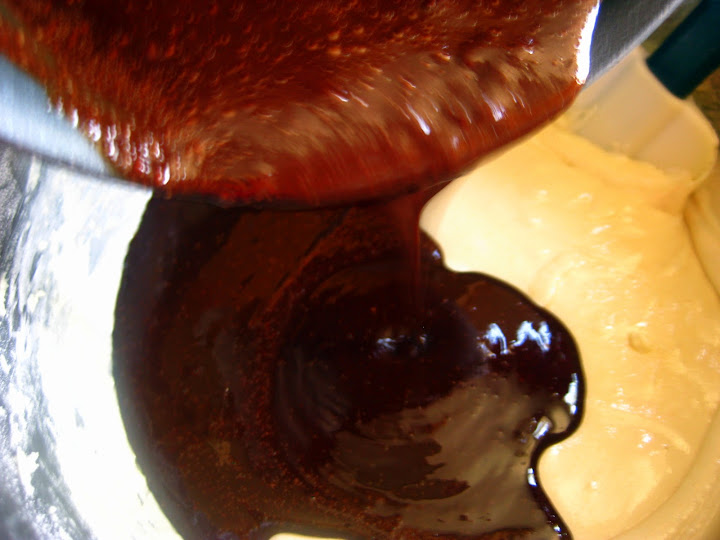
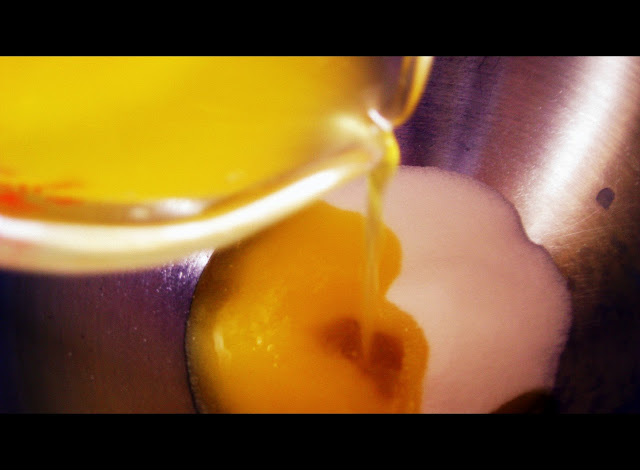
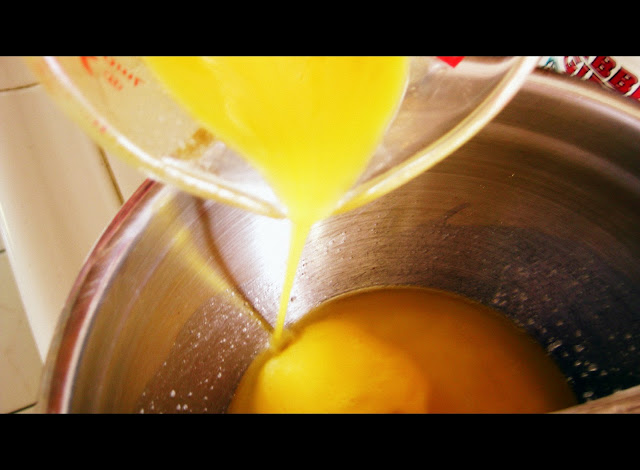
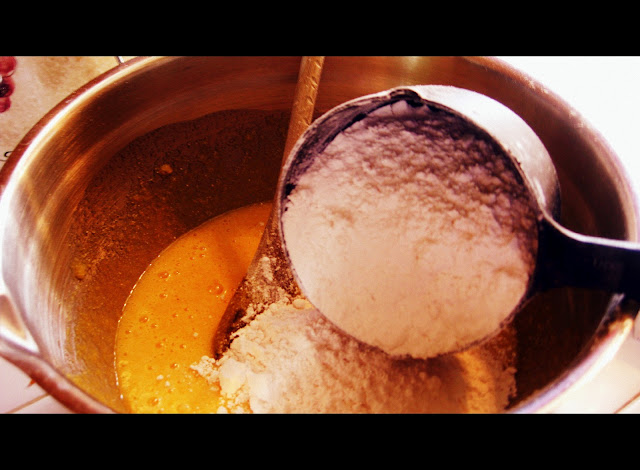
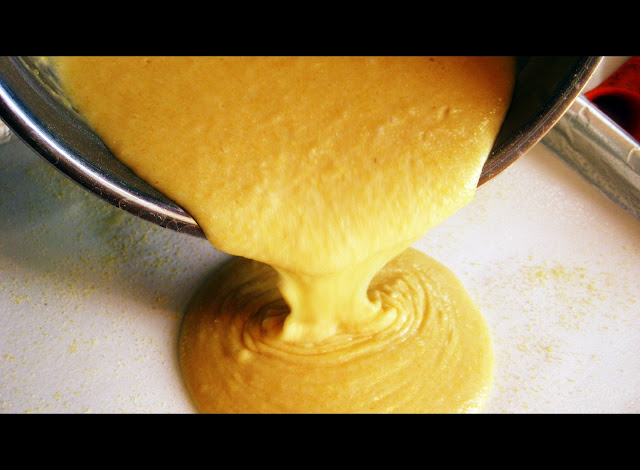
In a large bowl, combine everything except the flour, and beat until smooth.
Add the flour and mix until combined.
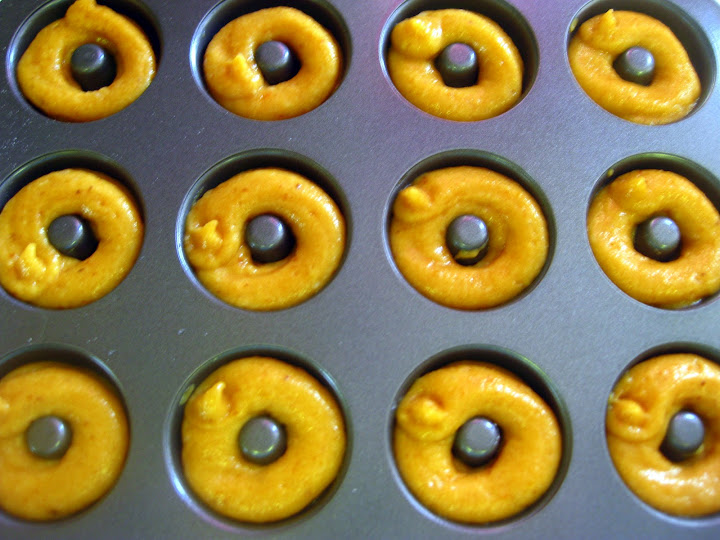
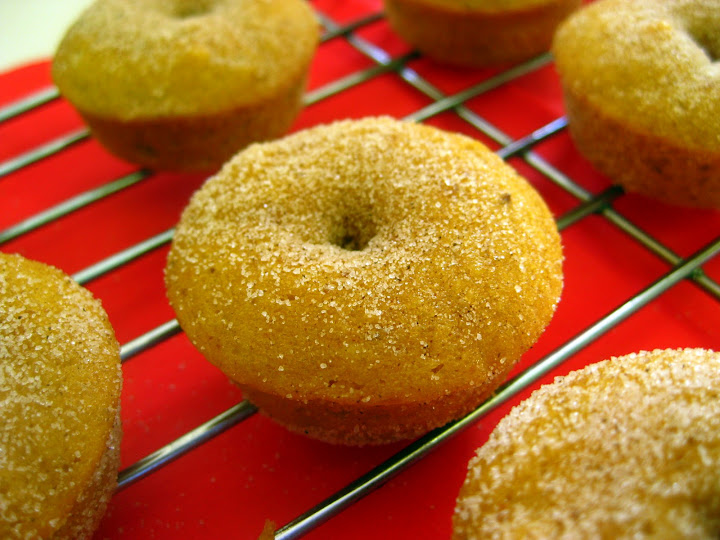
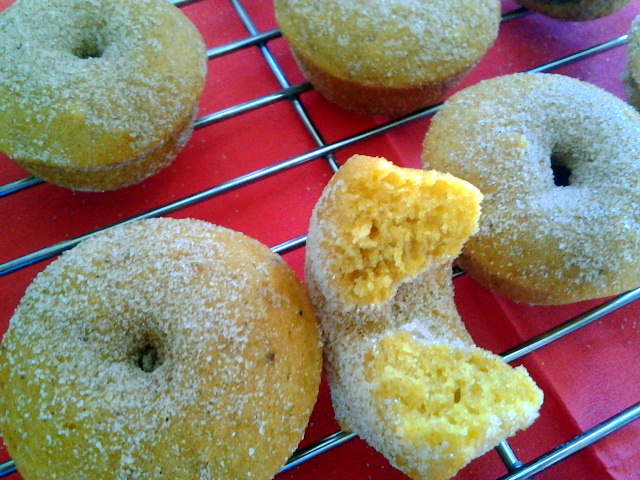
Pipe batter into mini-doughnut pans. Fill them just a little over half full. Aren’t they super cute?
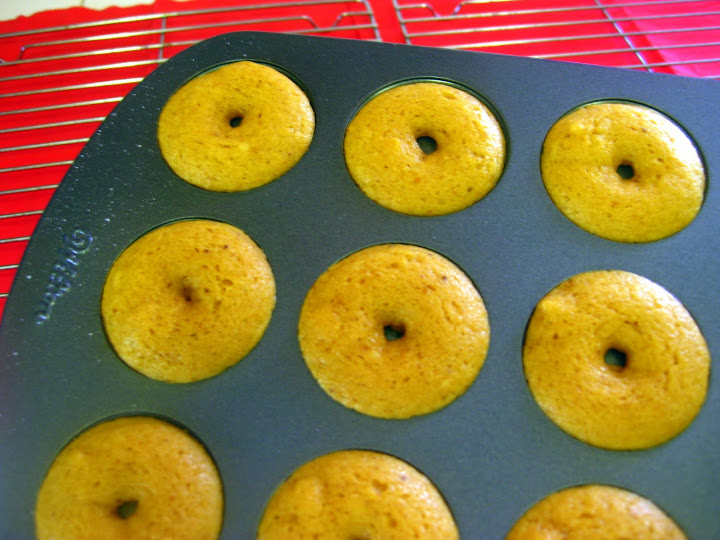
Bake at 350 degrees for about 12 minutes, until a toothpick comes out clean. When touched they should spring back and not be doughy. The smell is heavenly!
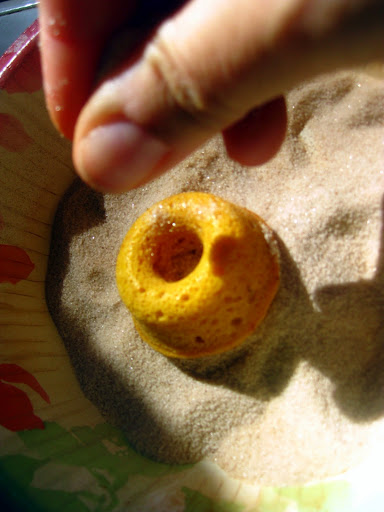
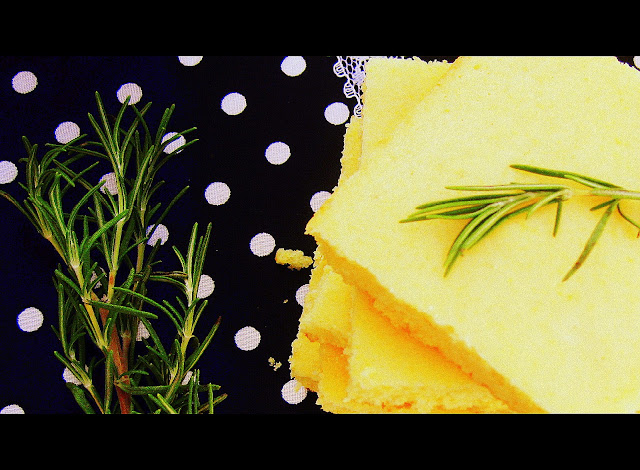
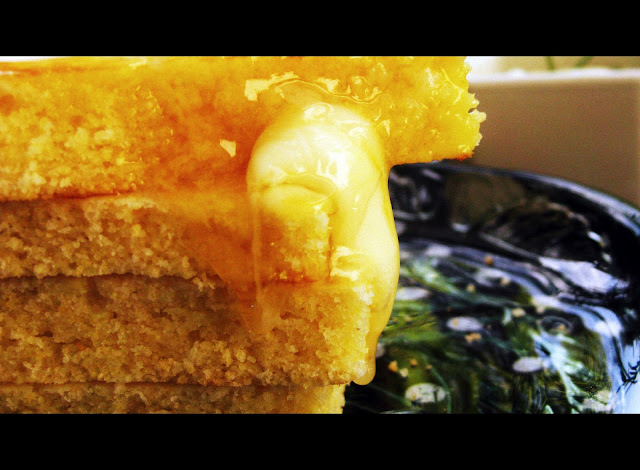
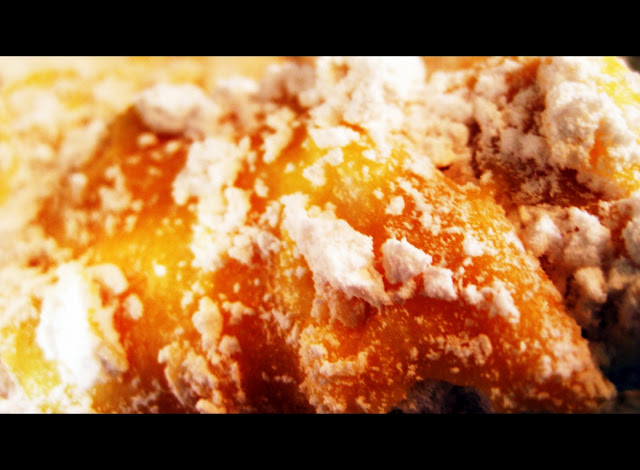
Remove from pans and place on baking rack to cool. While still warm, but not hot, place a few at a time in bowl with your cinnamon & sugar mixture and coat lightly. Yes this step is needed. I saw lots of recipes with a more refined topping and drizzle, this is the best option. It give a little sweetness and changes the entire flavor in lieu of leaving the doughnut plain. Try it, eat one without first, then toss in this mixture…YOU’LL SEE!!
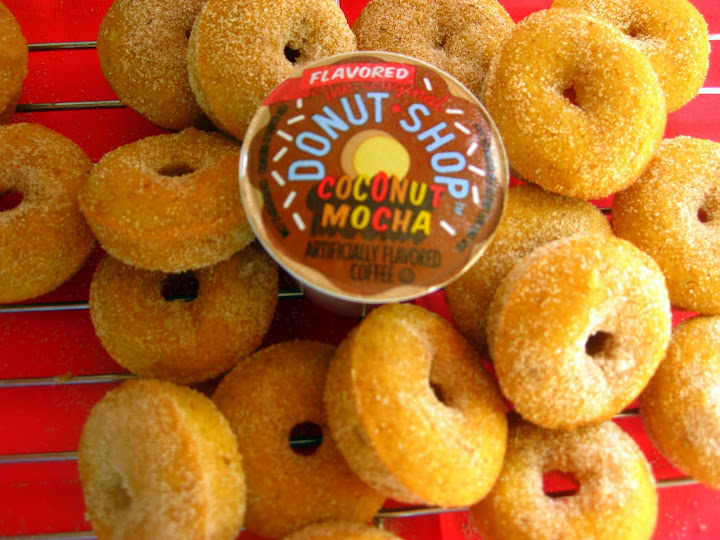
Makes approximate 4 dozen depending on size AND how quickly you devour the baby doughnuts before anyone notices because they are school and work…wait what?
A little plug for my favorite coffee maker Keurig my hubby Mr. Sweet Heat Chefs, my mom and mom-in law bought me for my birthday this year. This Coconut Mocha coffee is the BOMB with these doughnuts! WINK
Alternative ideas for the doughnuts are:
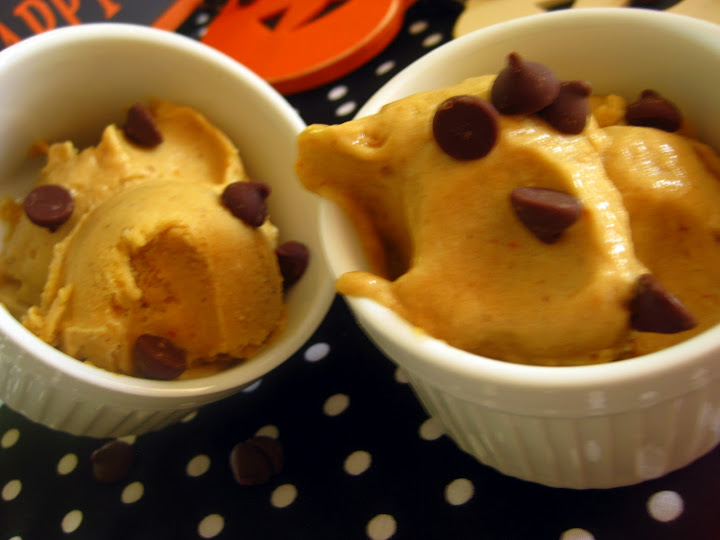
Add mini chocolate chips on top of batter after filling and drizzle with melted chocolate chips for topping
Add 1/2 teaspoon chopped pecans/walnuts to batter and drizzle with this:
Glaze: 1 cup powdered sugar, 1 tablespoon milk, 1/2 teaspoon vanilla (mix together until sugar is dissolved) and top that with crushed pecans/walnuts.
Woah, wait a minute…SECOND RECIPE DOUBLE
TAKE FOR FRIDAY MADNESS!!
Mini Chocolate Espresso Doughnuts
INGREDIENTS
¾ cup all-purpose flour
¼ cup unsweetened cocoa powder
⅓ cup granulated sugar
1 tsp baking powder
¼ tsp salt
2 tbsp plain yogurt
¼ cup milk
1 egg
3 tbsp vegetable oil
¼ tsp vanilla extract
2 tblsp instant espresso, in hot water
DIRECTIONS
- Preheat oven to 375 degrees F.
- Whisk dry ingredients together in a mixing bowl and wet ingredients in another mixing bowl.
- Add dry ingredients to wet slowly stirring to incorporate evenly.
- Fill doughnut pan with batter almost full and not overflowing
- Bake for about 7 minutes. When touched they should spring back and not be doughy.
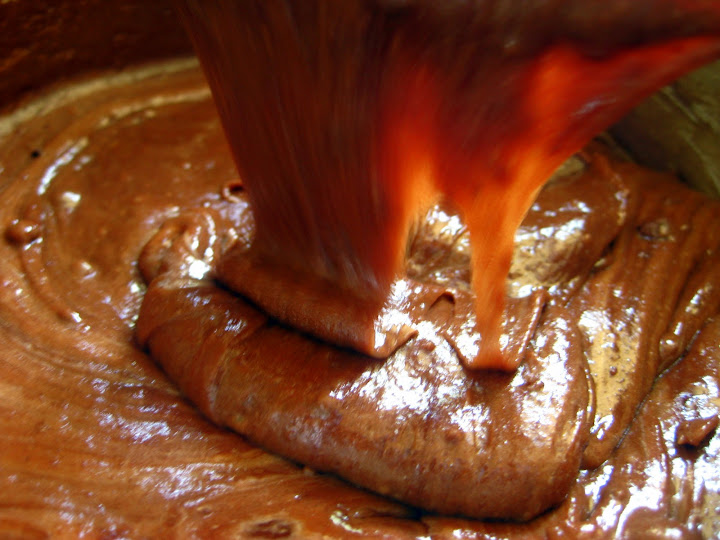
- Melt 1/4 cup chocolate chips in a baggie (30 seconds) with 1 teaspoon of shortening and 1/2 teaspoon vanilla extract. OPTIONAL: You could add espresso in with the chocolate chips while melting. Just make sure you dissolve it in hot water first.
- Cut tip off end of baggie and drizzle over doughnuts