The only commentary I am going to try to make up for this recipe is, be sure to make both loafs, as this first one will not last long. Oh and don’t let the title fool you…There were 5 of us for dinner last night and we devoured 1 loaf in its entirety. (finger licking good is not just for chicken!)

Apparently we are carb loving fiends!! All is good, I am happy being one. This bread is good next morning for toast and then for lunch as an open faced sammy! It is not just about the bread and butter here.

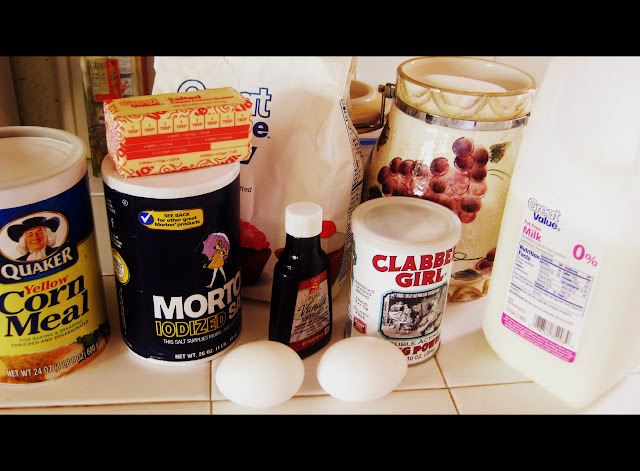
INGREDIENTS #1
DIRECTIONS #1
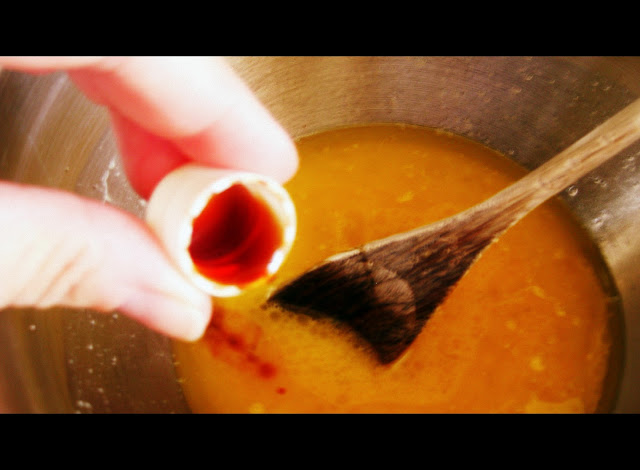
Rinse quinoa in a strainer and add to pot with V8 juice. Bring to a boil and then reduce heat to a simmer and cook for 15 minutes or until all liquid is absorbed. Set aside with lid off to cool. You need it cool for the next step.

INGREDIENTS #2
- 2 1/2 teaspoons active dry yeast
- 1 cup lukewarm water
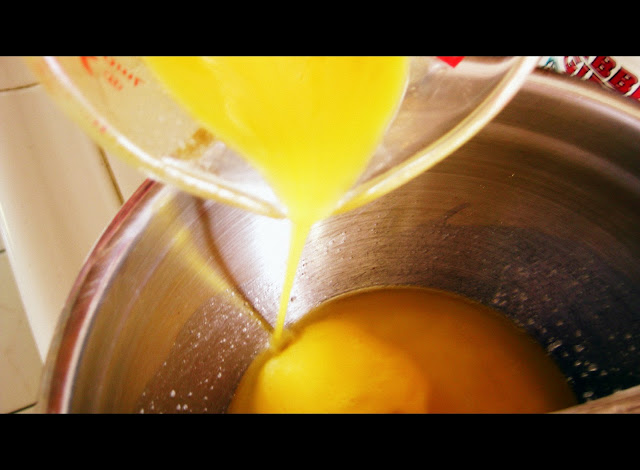
- 2 cups warm V8 juice
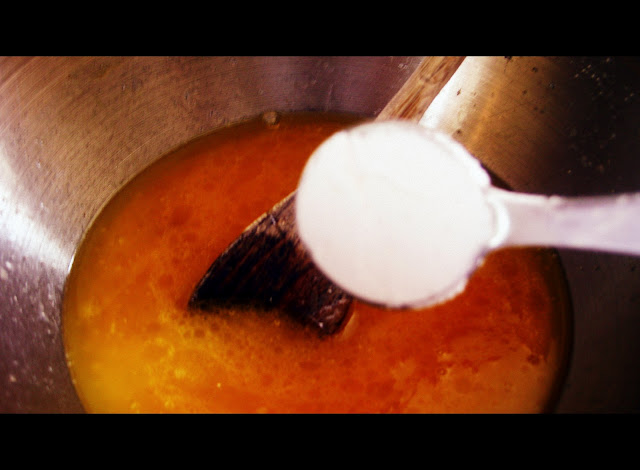
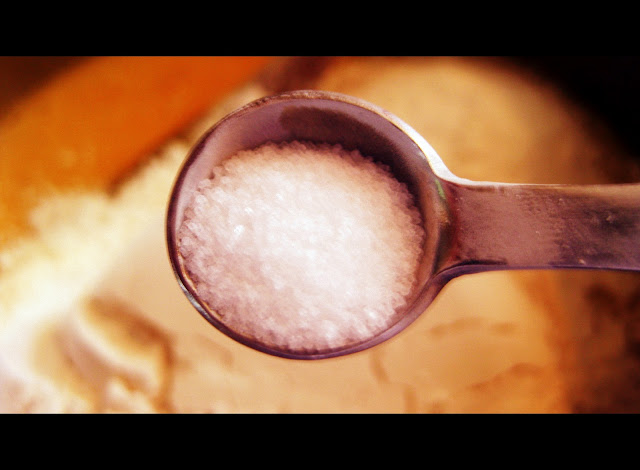
- 1 tablespoon salt
- 2 tbs dried basil
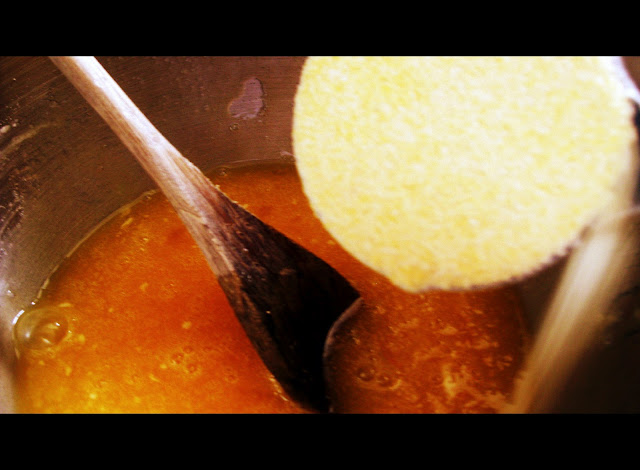
- 2 cups bread flour
- 1 cup whole-wheat flour
DIRECTIONS #2
To the bread machine, add the yeast to the warm water and stir, let sit for 5 minutes. Add the rest of the ingredients plus the cooled quinoa and mix thoroughly. Let run through the dough cycle and sit for 1 hour.
INGREDIENTS #3
- 1/4 cup olive oil
- 3 to 4 cups white bread flour
DIRECTIONS #3
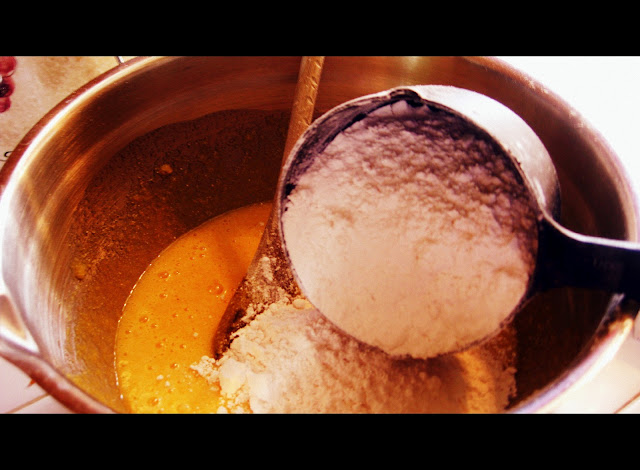
Add the dough that has been sitting for one hour into an oiled bowl and mix the above ingredients into the dough, start with 2 cups of flour first. Place dough on a clean surface, along with 1 more cup of flour and knead that into the bread. Continue to knead bread for about 5-10 minutes or until smooth consistency. Dough is relatively sticky, but if it is too sticky, add more flour 1/4 cup at a time. Once ready, place back into the oiled bowl, cover and let sit for another 1.5 hours.
Preheat oven to 375 degrees F. After the 1.5 hours punch dough down and re-cover while oven is heating up.
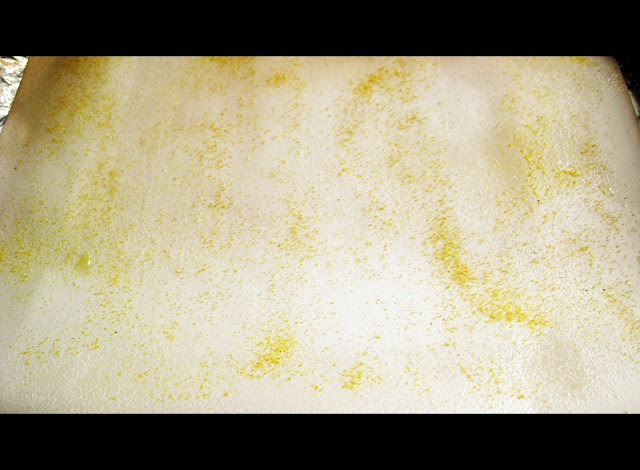
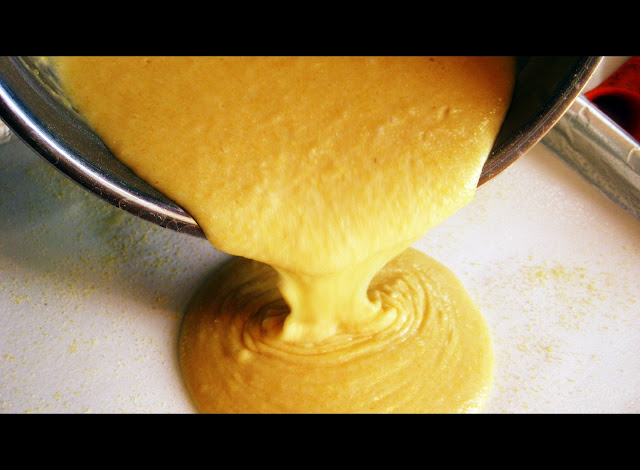
When oven is ready, take 2 loaf pans, buttered and divide dough in half and place in pans

INGREDIENTS #4
- 3 tbs butter, melted
- 2 tsp flax seeds
DIRECTIONS #4
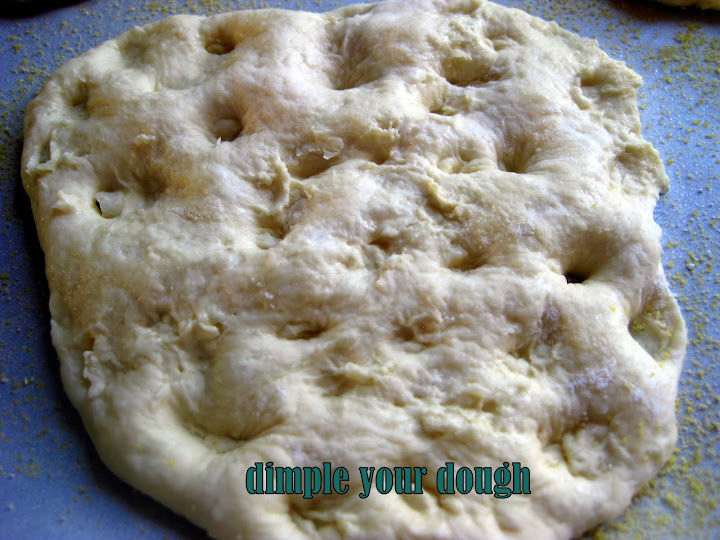
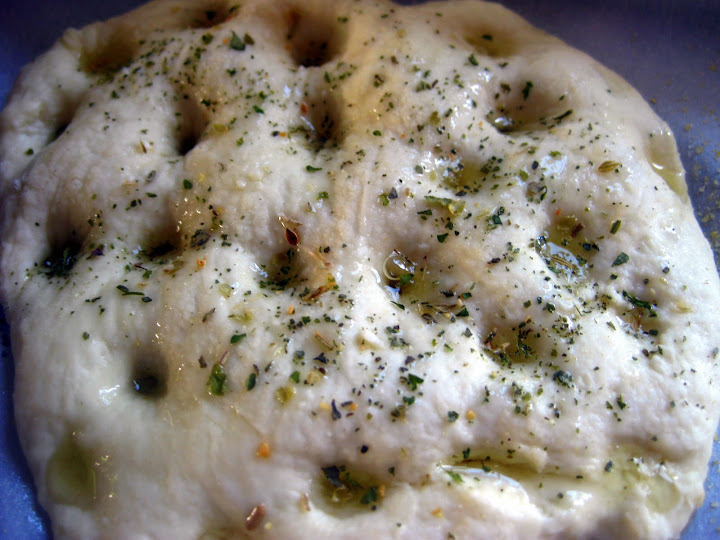
Slice down the middle of the dough and drizzle half of the butter over the top of loaf. Sprinkle with half flax seeds, continue with second loaf.
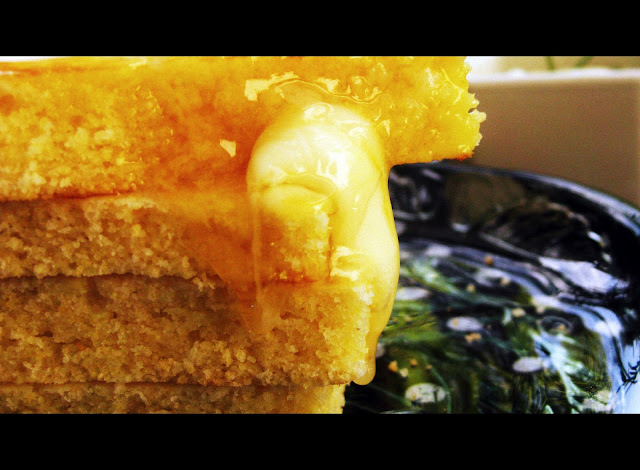
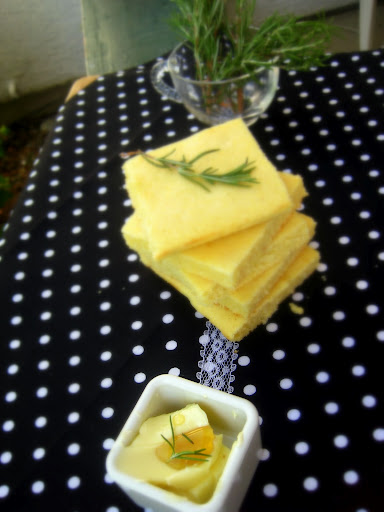
Bake for about 50 minutes. Let cool about 10 minutes (if you can stand it) and then repeat after me:
SLICE BUTTER SCARF, REPEAT!